How to send your first email blast campaign in Engage Pro.
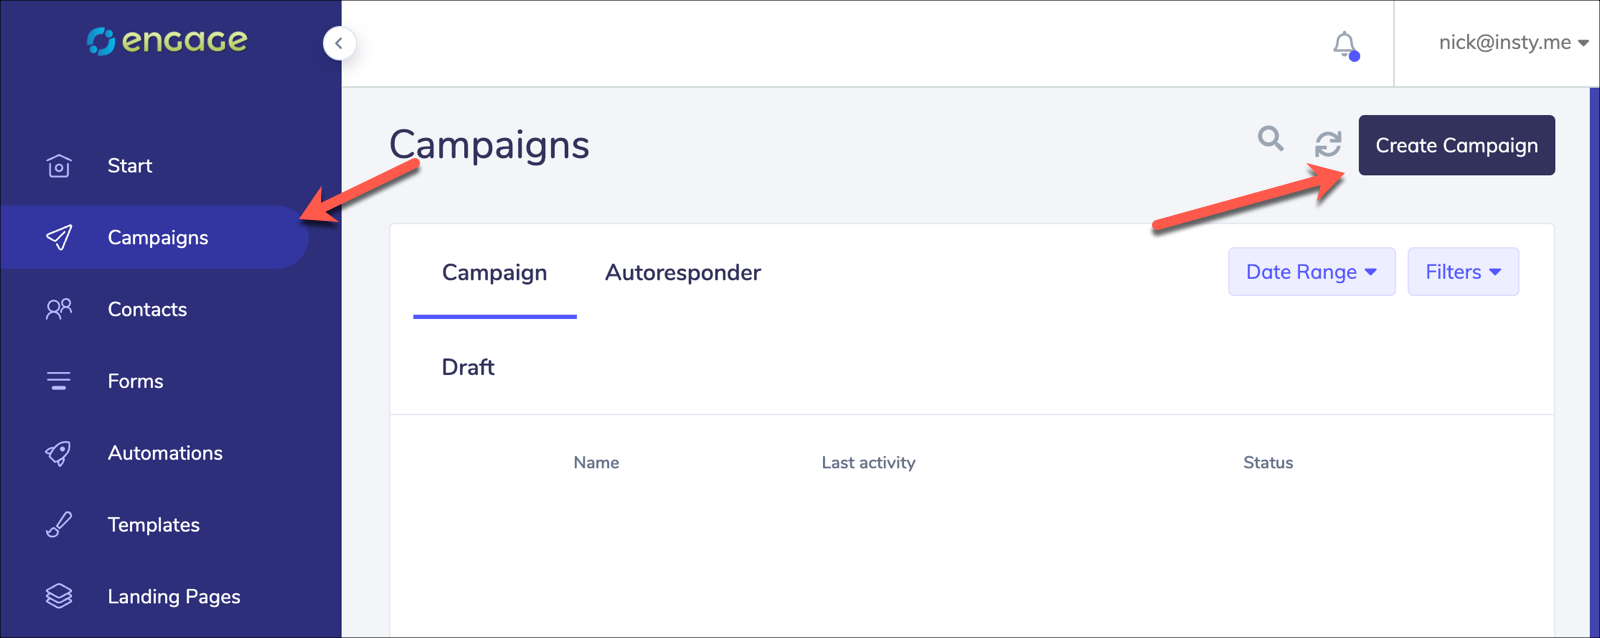
1.) Select Campaigns from the left menu, and click "Create Campaign"
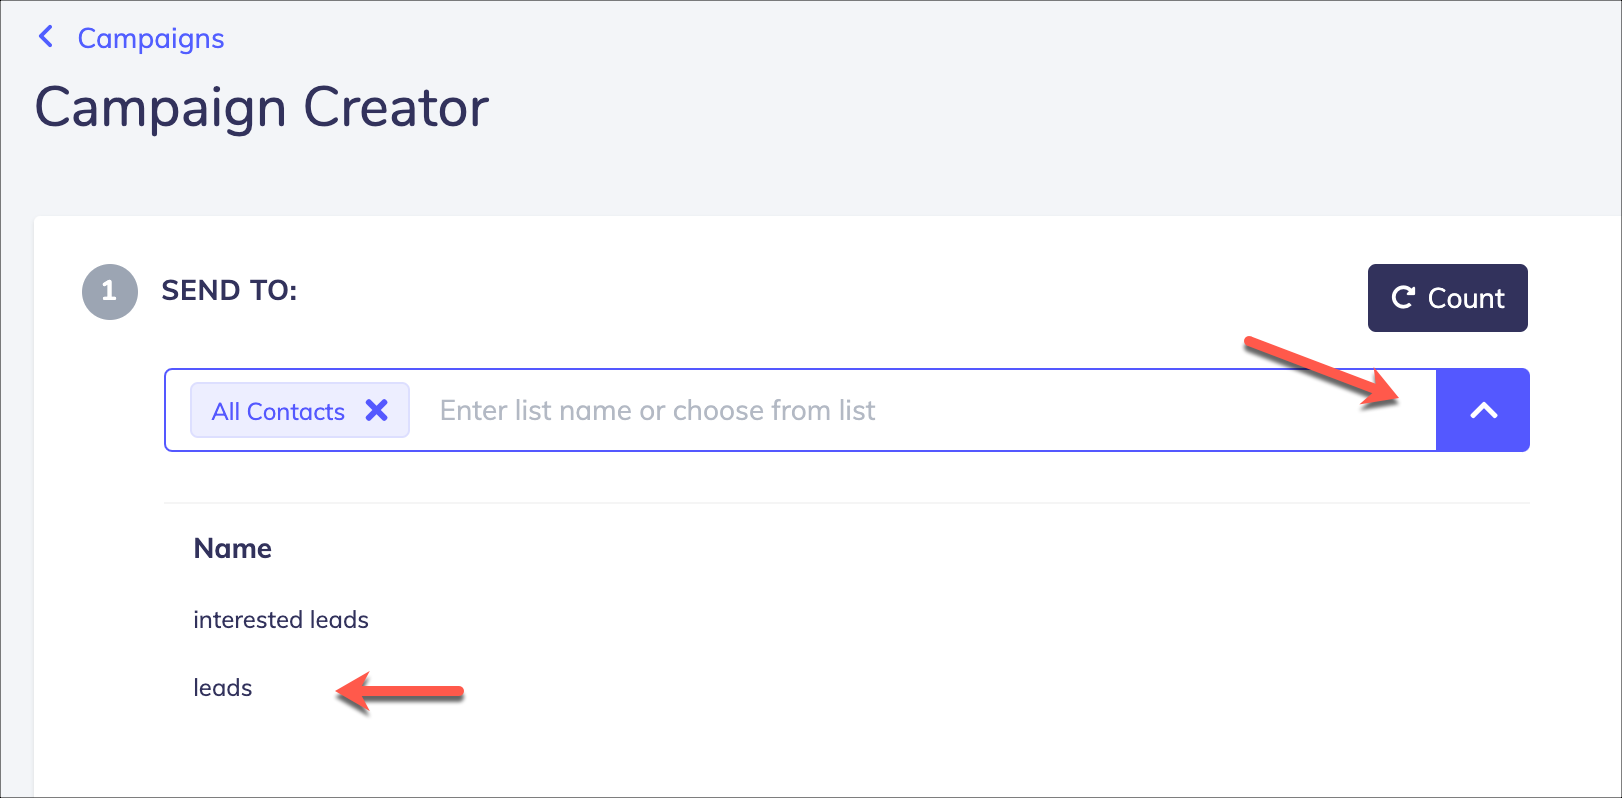
2.) Choose the list or lists that you would like to include in this email blast. NOTE - if contacts exist in multiple lists, they will only get ONE email from this blast, the system will automatically filter out any duplicates.
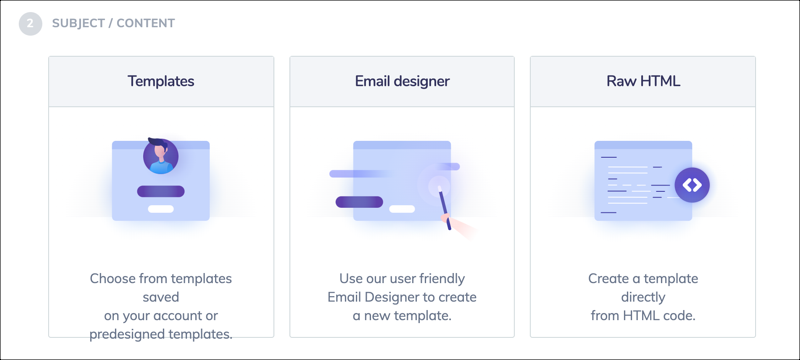
3.) Create your email. You can use a template that you created previously in your Templates menu, or create a new email in the campaign editor by using the email designer, or the raw HTML editor.
4.) Set your campaign settings.
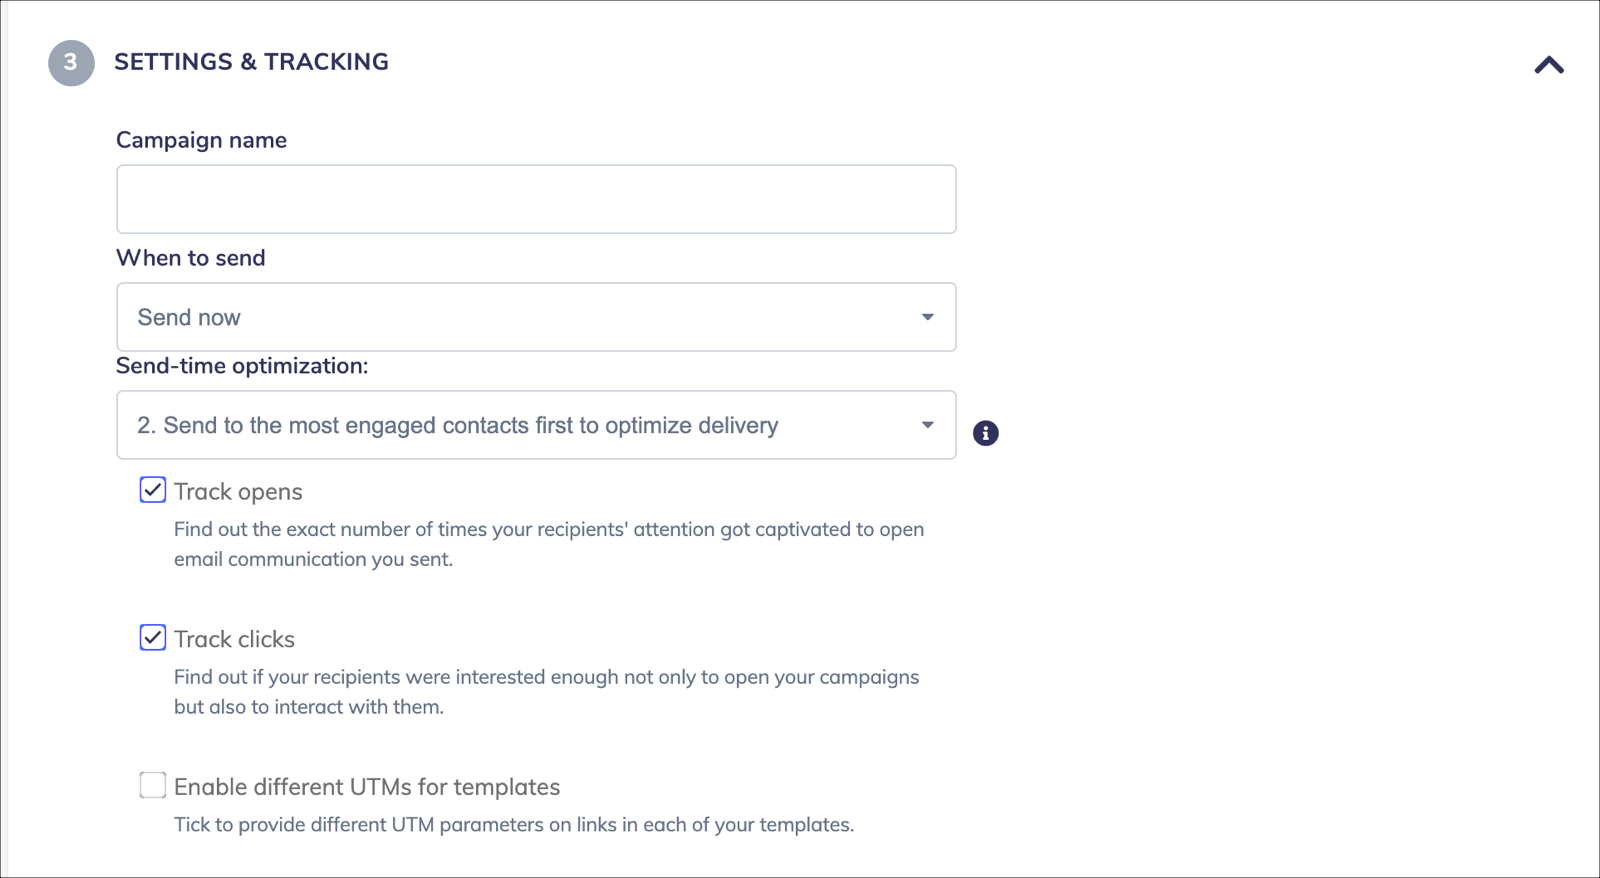
Campaign name - a name to remember what this campaign is all about. It can be anything and your clients will not see it.
When to send - choose to send now or to schedule for a time to send. You can also send to a subscriber based on when they are added to an audience (autoresponder) or send on a trigger of opening an email or clicking a link. For more information on advanced sending techniques, please see the automation and autoresponder KB article.
Send time optimization: Engage pro will keep track of when your subscriber opens an email. If your subscriber is engaged, Engage can send it to that person first so you have a better chance of getting good open rates off the bat. Gmail, Yahoo and others watch how your subscribers open emails and will use open rates to determine if your content is good, or is made for the spam folder. We recommend trying this option after you have many successful campaigns sent from Engage Pro.
Tracking - Whether or not Engage will use tracking in your emails. We suggest keeping this on.
4.) The LEGAL tab.
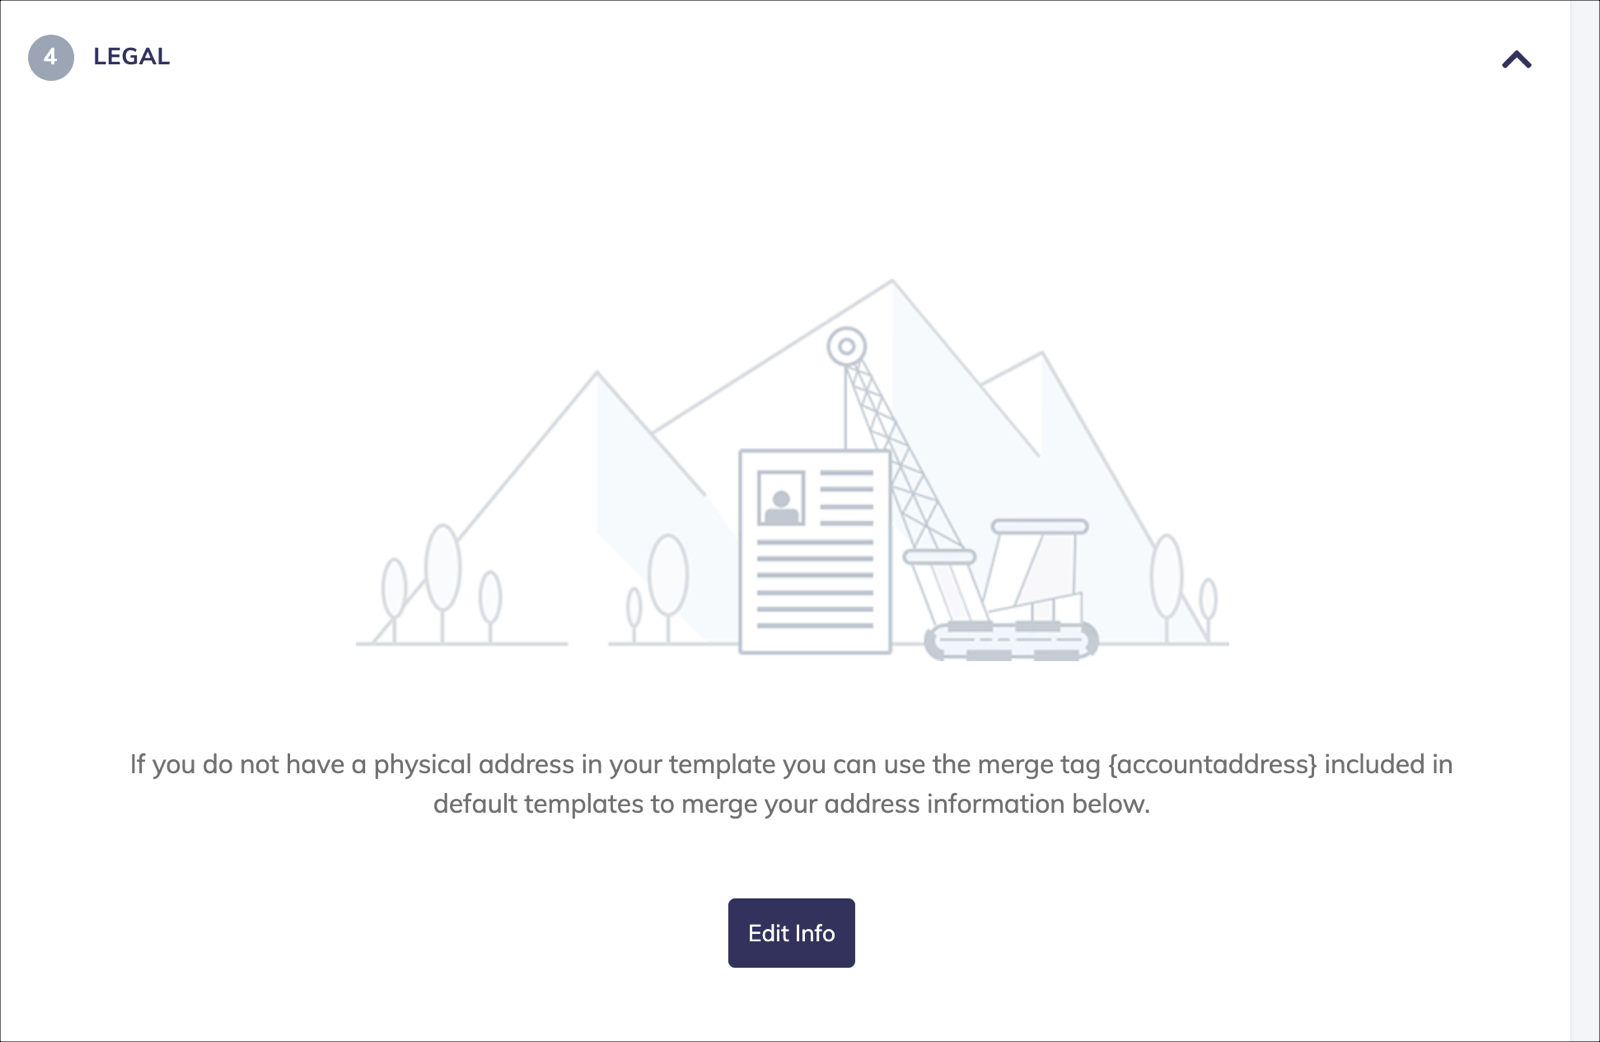
You should have a physical address set up in your profile already. If you don't, please be sure to add one before sending your campaign to ensure your emails are CAN SPAM compliant. In the legal tab, you can use the edit button to setup a physical address that will be specific for this email blast.
5.) SEND!
That's it! When you're ready, hit the send button and let Engage do all the hard work for you!
